So, you're dreaming of a new deck. Maybe you've got a vision for backyard barbecues, or just a nice spot to enjoy those warm Richland evenings. That's great! But before you start sketching plans or buying lumber, let's talk about what goes into building a deck, and more importantly, what parts of it you can actually do yourself versus when you absolutely need to bring in a professional.
Before You Even Think About Building
First things first: planning. This isn't just about picking a pretty color for your deck boards. You need to think about permits, codes, and design. And trust me, getting this wrong upfront can cost you a lot more than hiring someone to do it right.
- Permits are Non-Negotiable: Every deck, no matter how small, needs a permit from the City of Richland. This isn't just bureaucracy; it's about safety. They'll check your plans to make sure your deck will be structurally sound and meet local building codes. Don't skip this. If you build without a permit, you could face fines, be forced to tear it down, or have trouble selling your house later.
- Design and Footings: This is where things get technical. Your deck needs to be designed to carry the weight of people, furniture, and snow (yes, we get some here!). The footings, which are the concrete bases that support the posts, are critical. They need to be deep enough to get below our frost line here in the Tri-Cities, which is usually around 24-30 inches, to prevent frost heave. They also need to be wide enough to support the load. This part of the design really isn't a DIY job unless you're an engineer or have extensive construction experience. I've seen too many decks fail because the footings weren't done right.
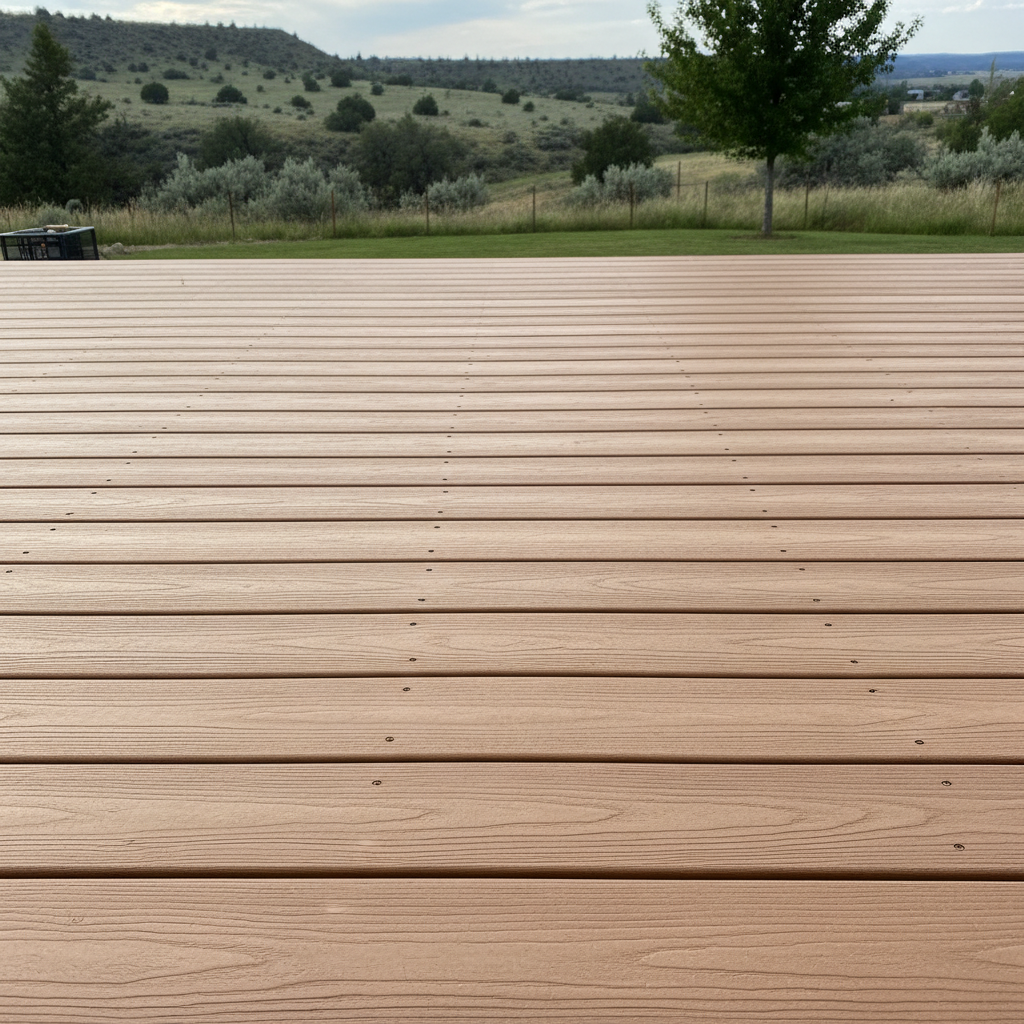
- Material Choices: Are you going with traditional wood like cedar or pressure-treated pine, or are you leaning towards composite? Each has its pros and cons in our dry climate. Wood needs more maintenance but can be cheaper upfront. Composite is low-maintenance but costs more initially. Think about your budget, your lifestyle, and how much time you want to spend cleaning and staining.
For the permit application and structural design, I strongly recommend getting a professional involved. Even if you plan to do some of the build yourself, having an experienced contractor or a structural engineer draw up the plans and get them approved is money well spent. It ensures your deck is safe and up to code.
During Construction: Where DIY Meets Reality
Okay, so you've got your plans approved, and you're ready to start. Here's where you need to be honest with yourself about your skills and tools.
- Excavation and Footings (Pro Job): Digging those footing holes accurately and pouring concrete correctly is tough work. Getting the depth and diameter right, ensuring they're plumb, and letting them cure properly is crucial. This is usually best left to the pros. They have the right equipment and know-how to get it done efficiently and correctly.
- Framing (Advanced DIY or Pro): This is the skeleton of your deck – the beams, joists, and ledger board. Precision is key here. Everything needs to be level, square, and securely fastened. If you've built a shed or done significant framing before, you might be able to tackle this. But if you're not confident with a tape measure, a level, and a circular saw, or if you're not familiar with proper joist hangers and flashing techniques, you're better off hiring a pro. A poorly framed deck isn't just ugly; it's dangerous. Especially that ledger board connection to your house – that's where most deck failures happen, so it needs to be done perfectly, often with specific flashing to prevent water intrusion into your home's structure.
- Decking and Railings (DIY Friendly, with caveats): This is where many homeowners can shine. Laying the deck boards and installing railings can be very satisfying. If you're comfortable with power tools like a miter saw and a drill, and you can follow instructions for spacing and fastening, you can definitely do this part. Just make sure to research proper fastening methods for your chosen material (hidden fasteners for composite, specific screws for wood), and pay attention to railing height requirements for safety. For example, railings usually need to be at least 36 inches high for decks under 6 feet off the ground, and 42 inches for higher decks.
My advice? If you're handy and want to save some money, consider doing the decking and railing installation yourself after a professional has handled the permits, footings, and framing. It's a great way to be involved without compromising the structural integrity of your deck.
After the Build: Enjoyment and Upkeep
So, the deck's built, inspected, and you're ready to relax. Don't forget about maintenance!
- Wood Deck Maintenance: If you went with wood, you'll need to clean and re-seal or stain it every couple of years, depending on the product and how much sun it gets. Our intense Richland sun can really dry out and fade wood quickly. Regular cleaning will also prevent mildew and algae buildup.
- Composite Deck Maintenance: While low-maintenance, composite isn't no-maintenance. You'll still need to wash it periodically to remove dirt, pollen, and any stains. A simple scrub brush and some soapy water usually do the trick.
- Regular Inspections: No matter the material, give your deck a once-over every spring. Check for loose boards, wobbly railings, or any signs of rot or insect damage, especially around the posts and where the deck connects to your house. Catching small problems early can prevent bigger, more expensive ones down the road.
Building a deck is a big project, but it's incredibly rewarding. At Skyline Decks Richland, we've helped plenty of homeowners figure out the right balance between DIY and professional help. Don't hesitate to ask for advice or a quote, even if you're just looking for help with the trickier parts. We're here to make sure you get a safe, beautiful deck you can enjoy for years.